Wood Floor Sanding in Stanmore: The Fastest Way to Revive Dull Wooden Boards
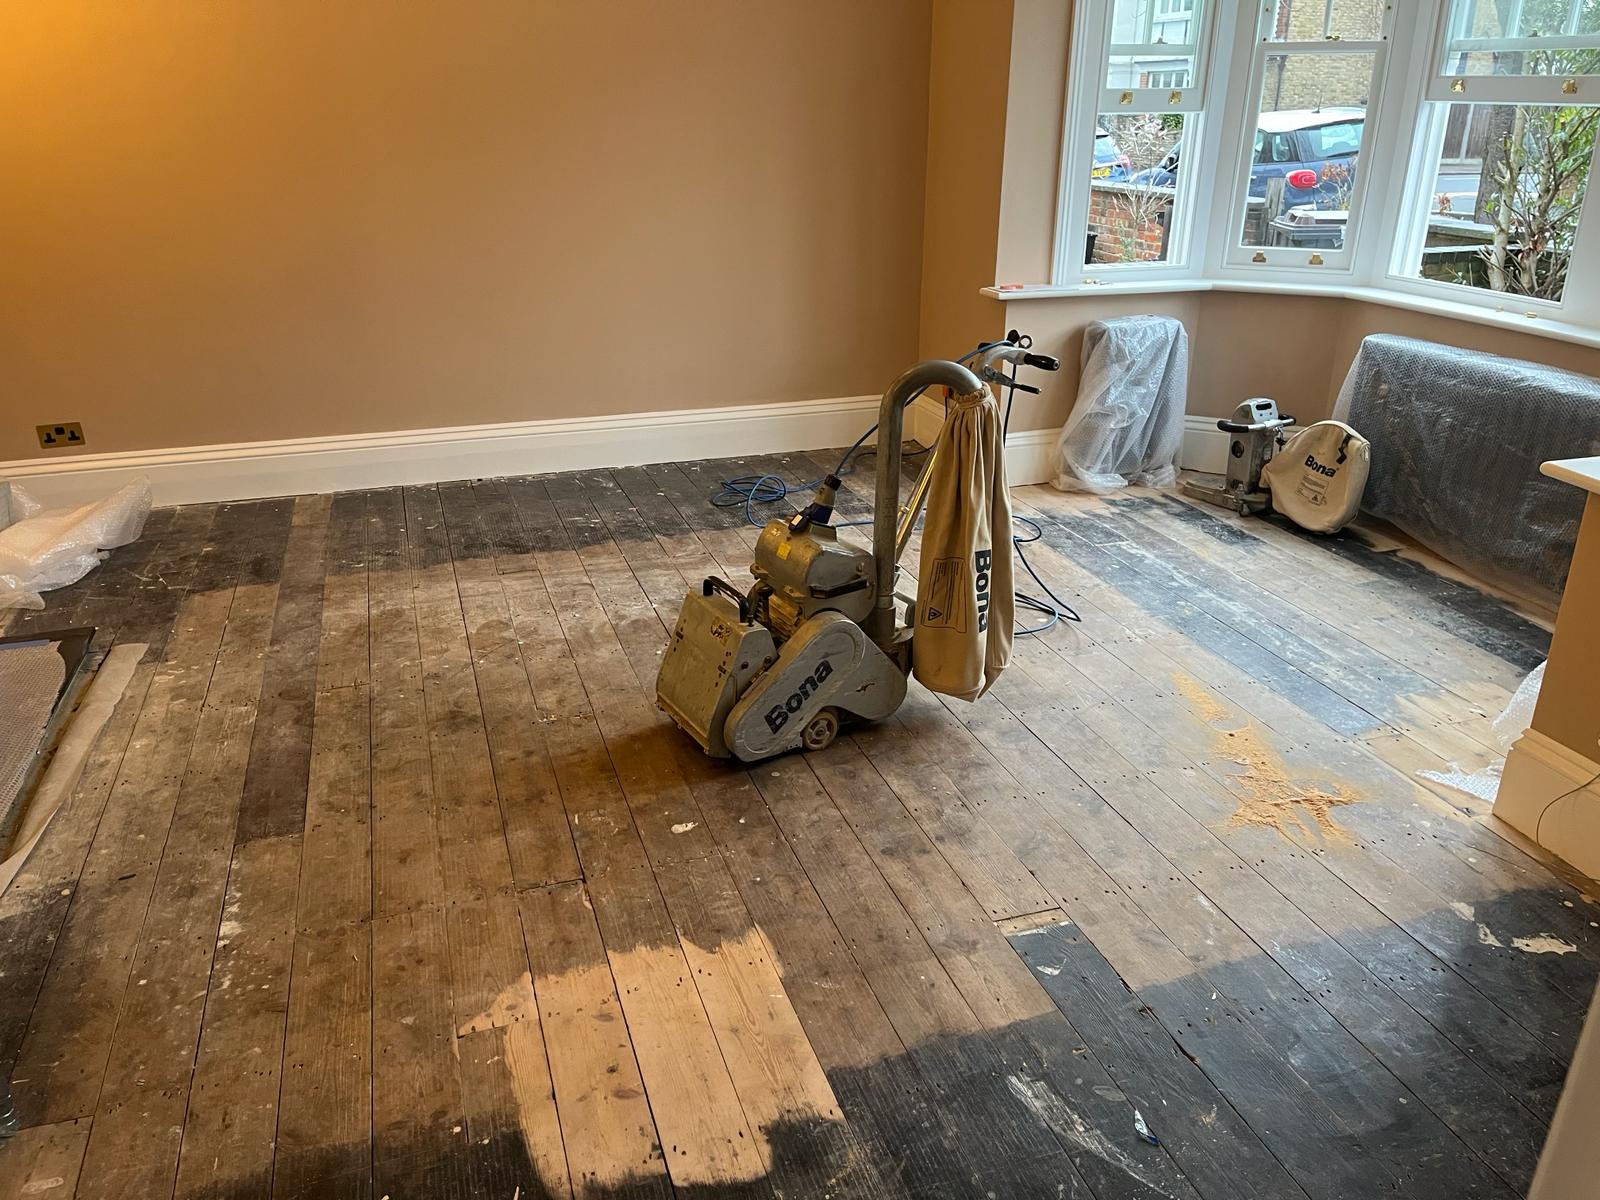
If your wooden floors in Stanmore have started to look a bit… well, tired—grey patches in the traffic lanes, scratches that catch the light, a dull finish that never quite looks clean—here’s the good news: you probably don’t need a new floor.
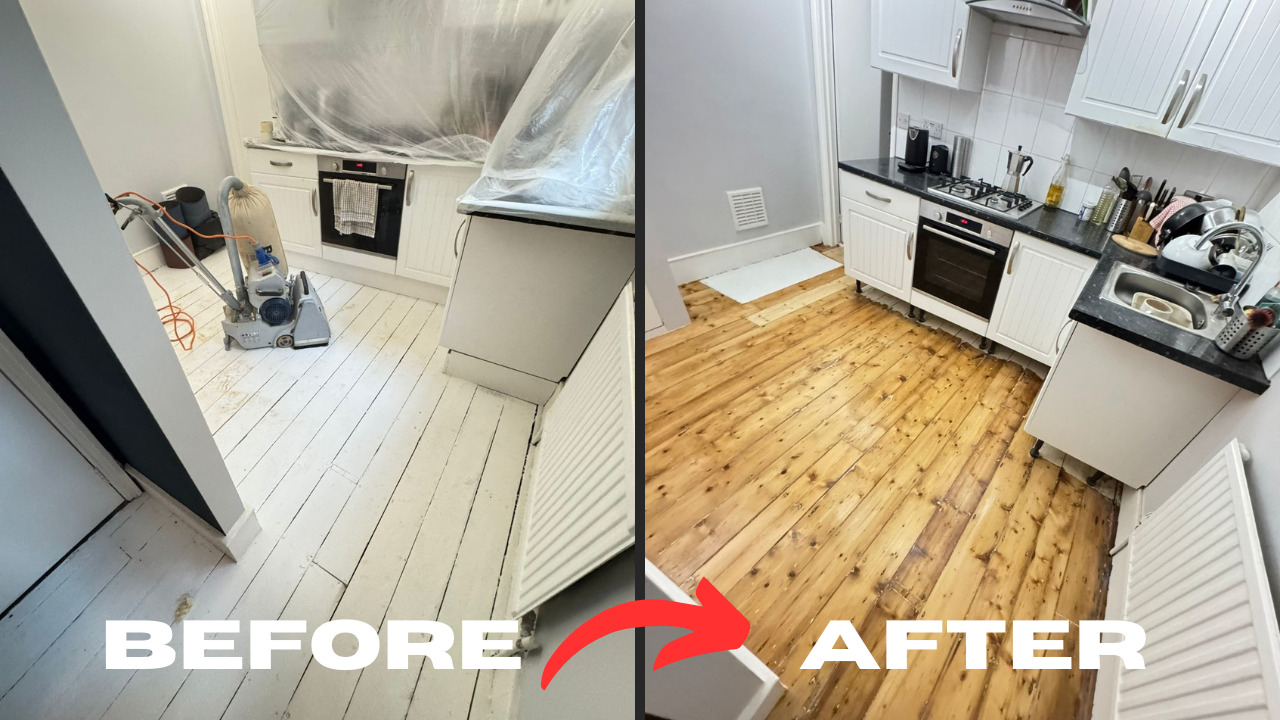
Most solid wood and many engineered wood floors can be revived beautifully with professional Wood Floor Sanding and the right finish. Done properly, sanding doesn’t just “make it look nicer”. It restores the timber, smooths out wear, improves hygiene (less dust trapped in grooves), and gives you the chance to choose the finish that suits how you actually live—kids, pets, shoes, parties, spills, the lot.
This guide shares the practical “secrets” that make the difference between an average sanding job and a wow transformation—specifically for homes and businesses in Stanmore and nearby areas.
The biggest secret: most floors don’t need replacing—just restoring
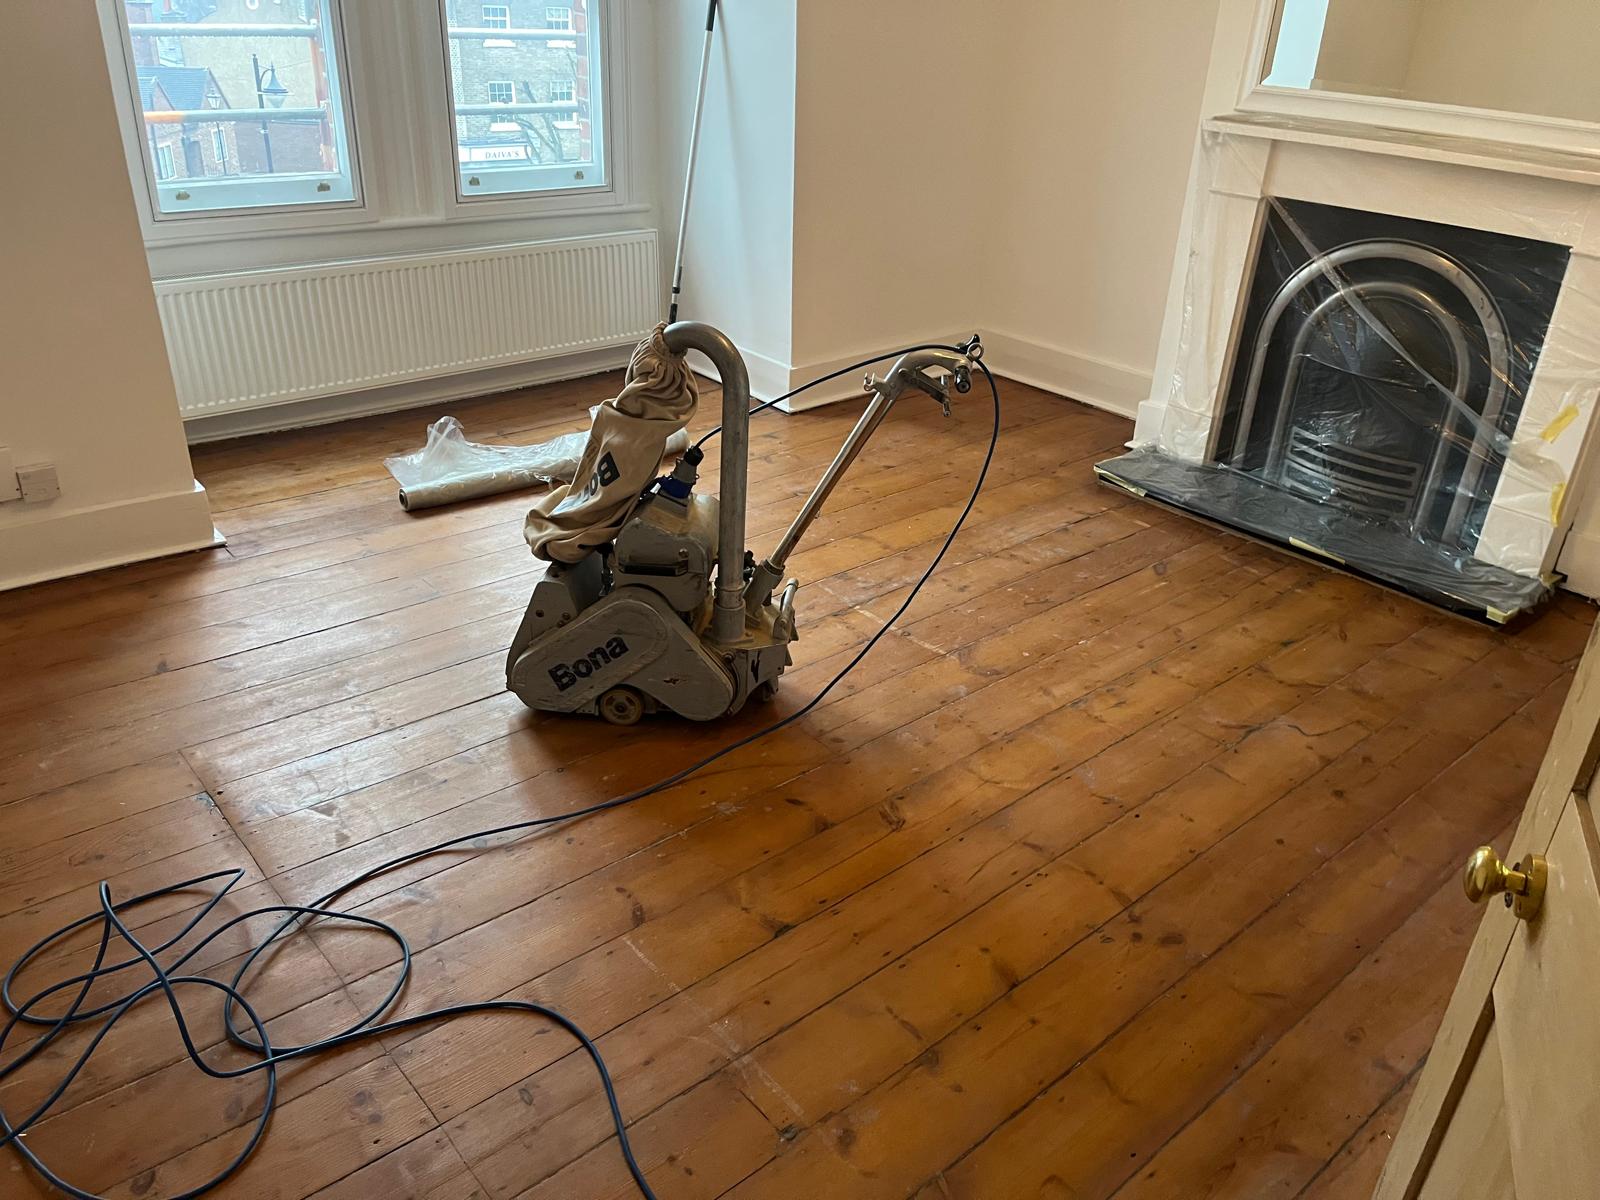
A floor replacement is disruptive, expensive, and often unnecessary. In many Stanmore properties—period homes, family houses, modern builds with timber flooring—the boards are still structurally sound. What you’re seeing is usually:
- Surface scratches and scuffs
- Worn finish where the protective coat has thinned
- Dark staining from water, plant pots, or old rugs
- Dullness from years of cleaning products leaving residue
- Small gaps and movement caused by seasonal humidity
Professional restoration through floor sanding and refinishing strips away the damaged surface and builds back protection—properly, evenly, and with the finish that matches your lifestyle.
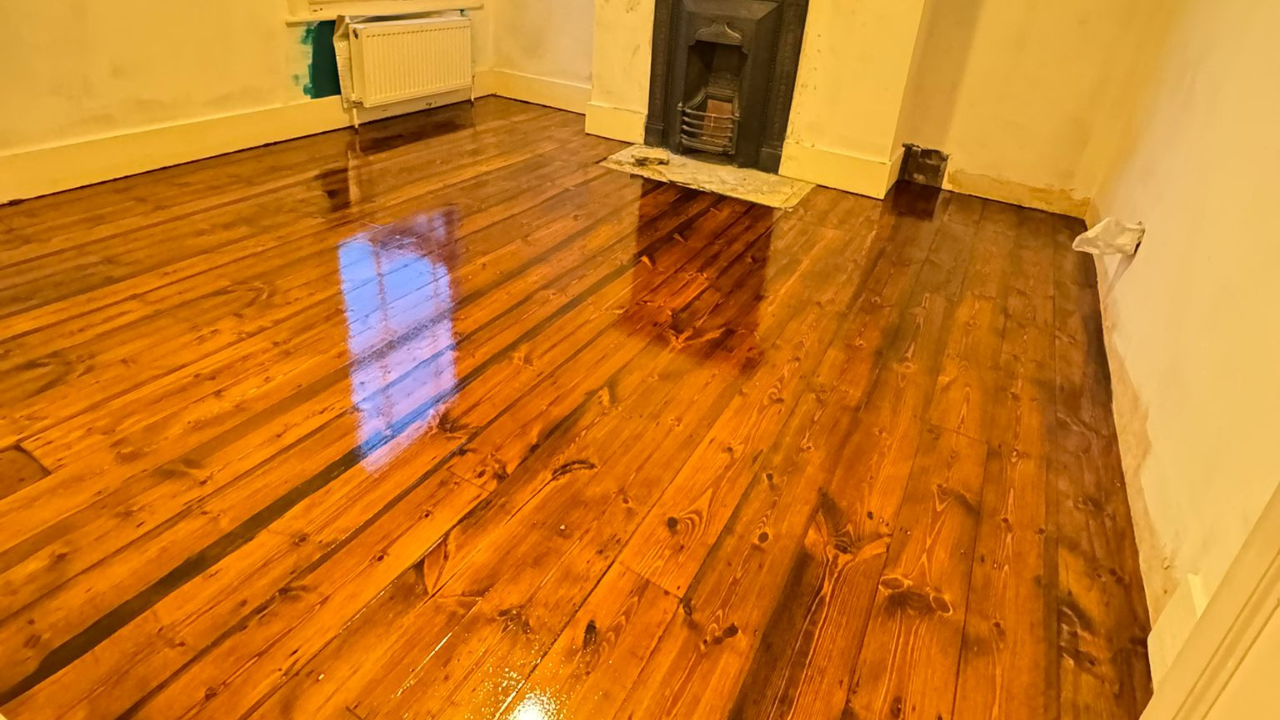
Secret #1: The real “before and after” is all about the finish you choose
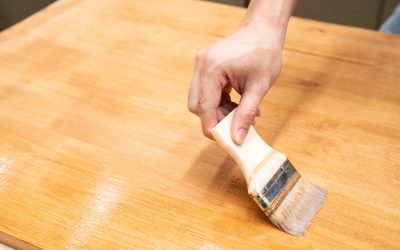
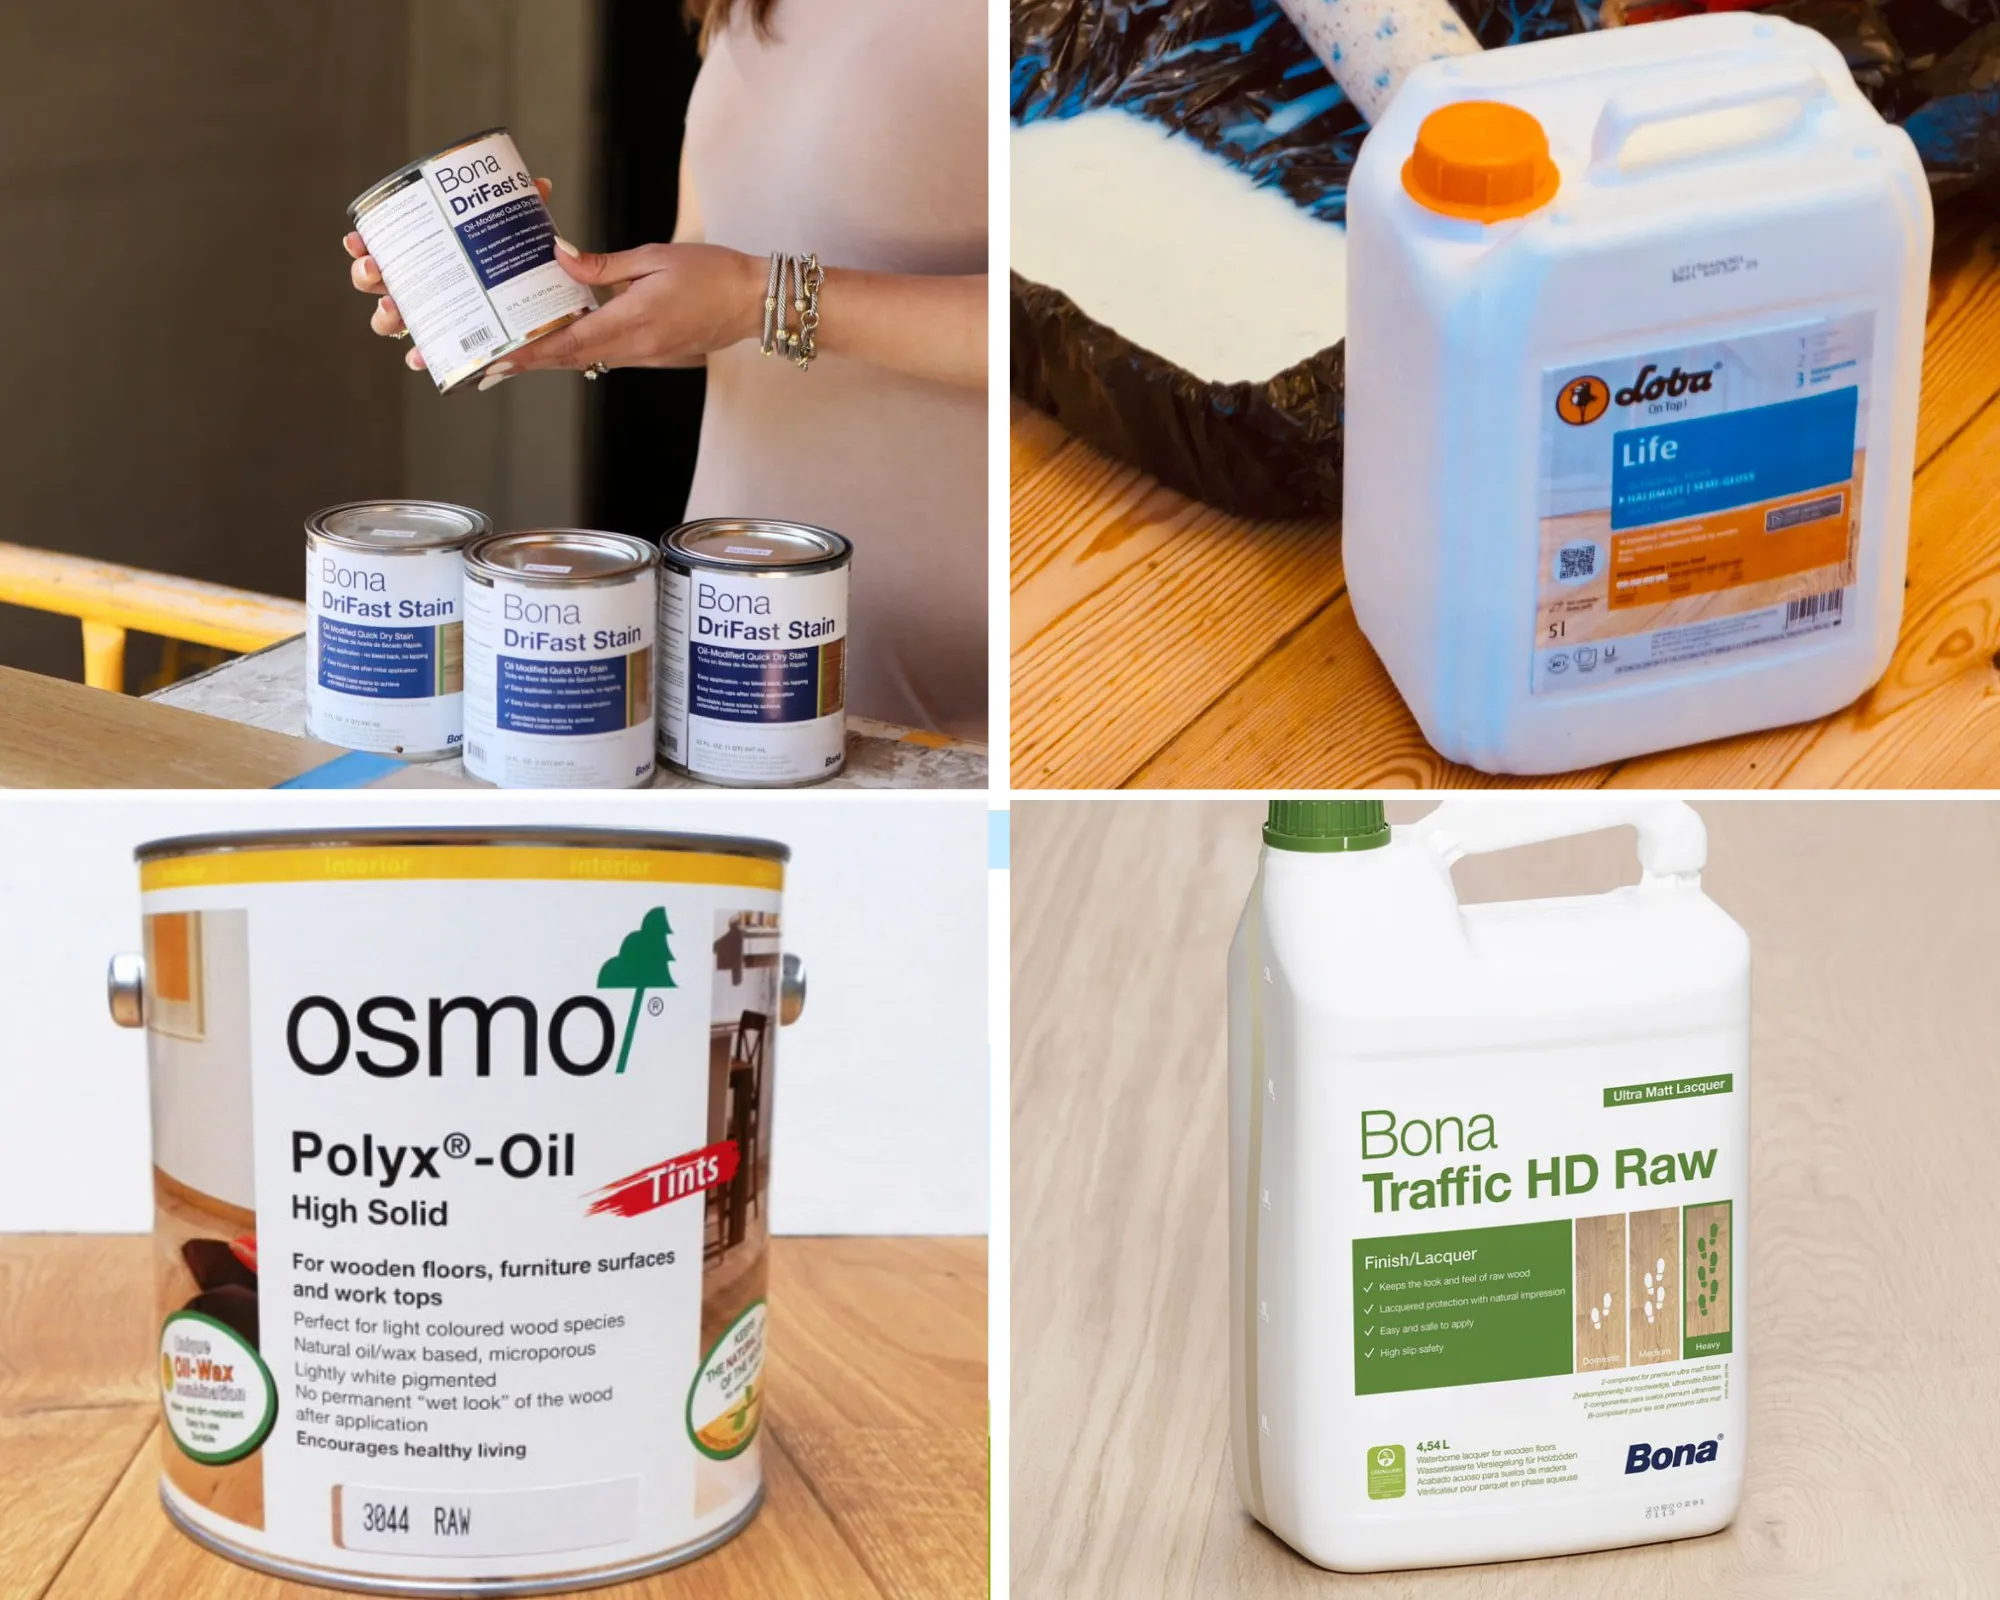
Sanding is the foundation. The finish is the final look and the long-term protection. A common mistake is choosing a finish based on appearance alone.
Here’s how to think about it:
1) Lacquer (water-based or solvent-based)
Best for: busy homes, hallways, families, rentals, light commercial areas
Why it works: strong surface protection, easy maintenance, clean modern look
Finish options: matt, satin, gloss
If you want a floor that’s easy to live with, lacquer is often the sensible choice after wood floor sanding.
2) Hardwax oil
Best for: natural look lovers, character floors, parquet, warm “wood feel”
Why it works: penetrates the wood, more forgiving for spot repairs, rich tone
Finish options: natural matt through to satin
Hardwax oils look fantastic in many Stanmore homes—especially where you want a softer, more organic finish after floor restoration.
3) Stains and colour tones
Best for: design-led refurbishments, matching new décor, modernising older boards
Secret: staining is unforgiving—prep must be perfect, and patching must be consistent
A professional will always discuss test patches and the reality of your timber type before committing.
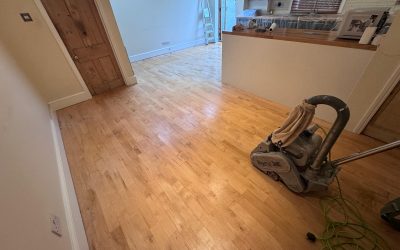
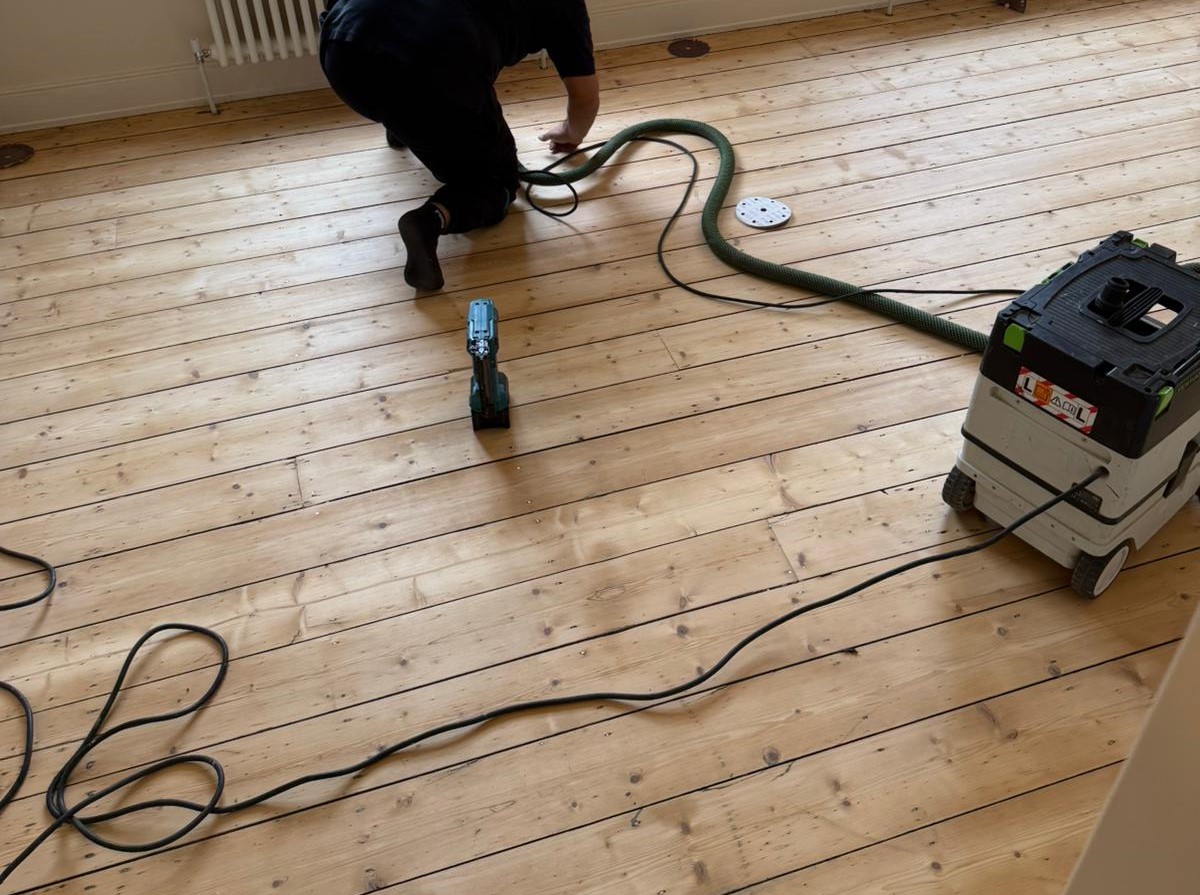
Secret #2: Dust-free sanding isn’t just marketing—it changes the whole experience
Old-school sanding created clouds of dust. Modern professional systems use high-powered extraction to capture the majority of fine dust at source.
That matters because:
- Your home stays cleaner during the project
- Less dust settles in cupboards, soft furnishings, and bedrooms
- The finish bonds better to a properly cleaned surface
- The whole job feels calmer and more controlled
If you’re booking floor sanding in Stanmore, ask specifically about dust extraction and edge sanding—those details separate the pros from the “guy with a machine”.
Secret #3: The best sanding job is the one you don’t notice—because it’s even everywhere
A great finish doesn’t draw attention to swirls, chatter marks, or uneven patches. It looks consistent across:
- doorways and thresholds
- edges near skirting boards
- corners and around radiators
- bay windows and under stairs
- the “main traffic lane” through the room
That evenness comes from the sanding sequence: starting with the right grit, flattening properly, and stepping through finer grits without skipping.
When people say “my floor looked great for a month, then went dull,” the cause is often poor preparation—meaning the finish didn’t have the right surface to grip.
That’s why a full professional wood floor sanding process is about method, not speed.
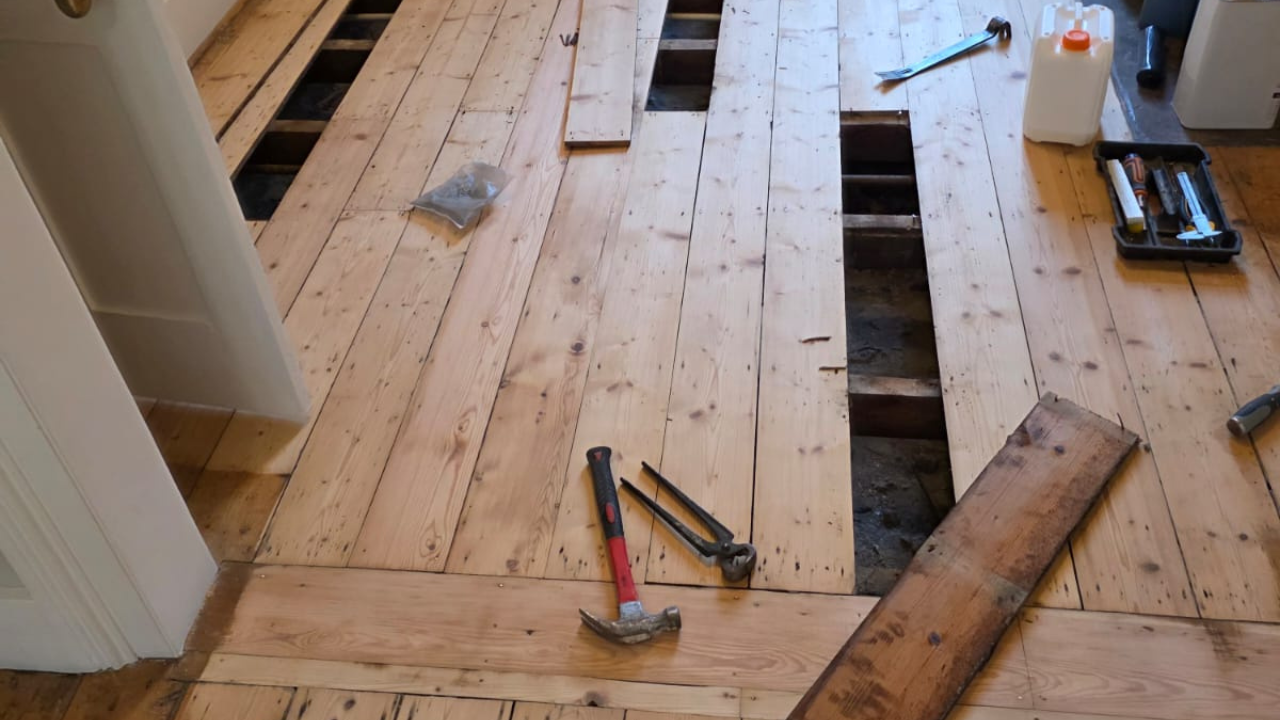
Secret #4: Repairs before sanding are non-negotiable if you want a premium result
Sanding makes everything smoother—and it also makes flaws more visible if they aren’t fixed first.
Typical pre-sanding fixes include:
- securing loose boards
- replacing damaged or rotten sections
- re-fixing squeaky areas
- filling gaps (where appropriate)
- sanding flush old repairs or uneven joins
This is where wood floor repairs come into play. Good repairs blend in, stay stable, and make the final finish look intentional rather than “patched”.
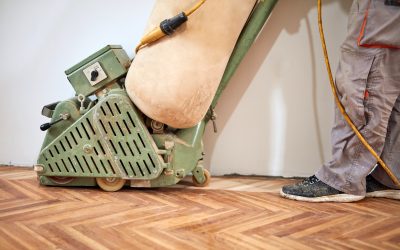
Secret #5: Parquet needs a different approach (and it’s worth doing properly)
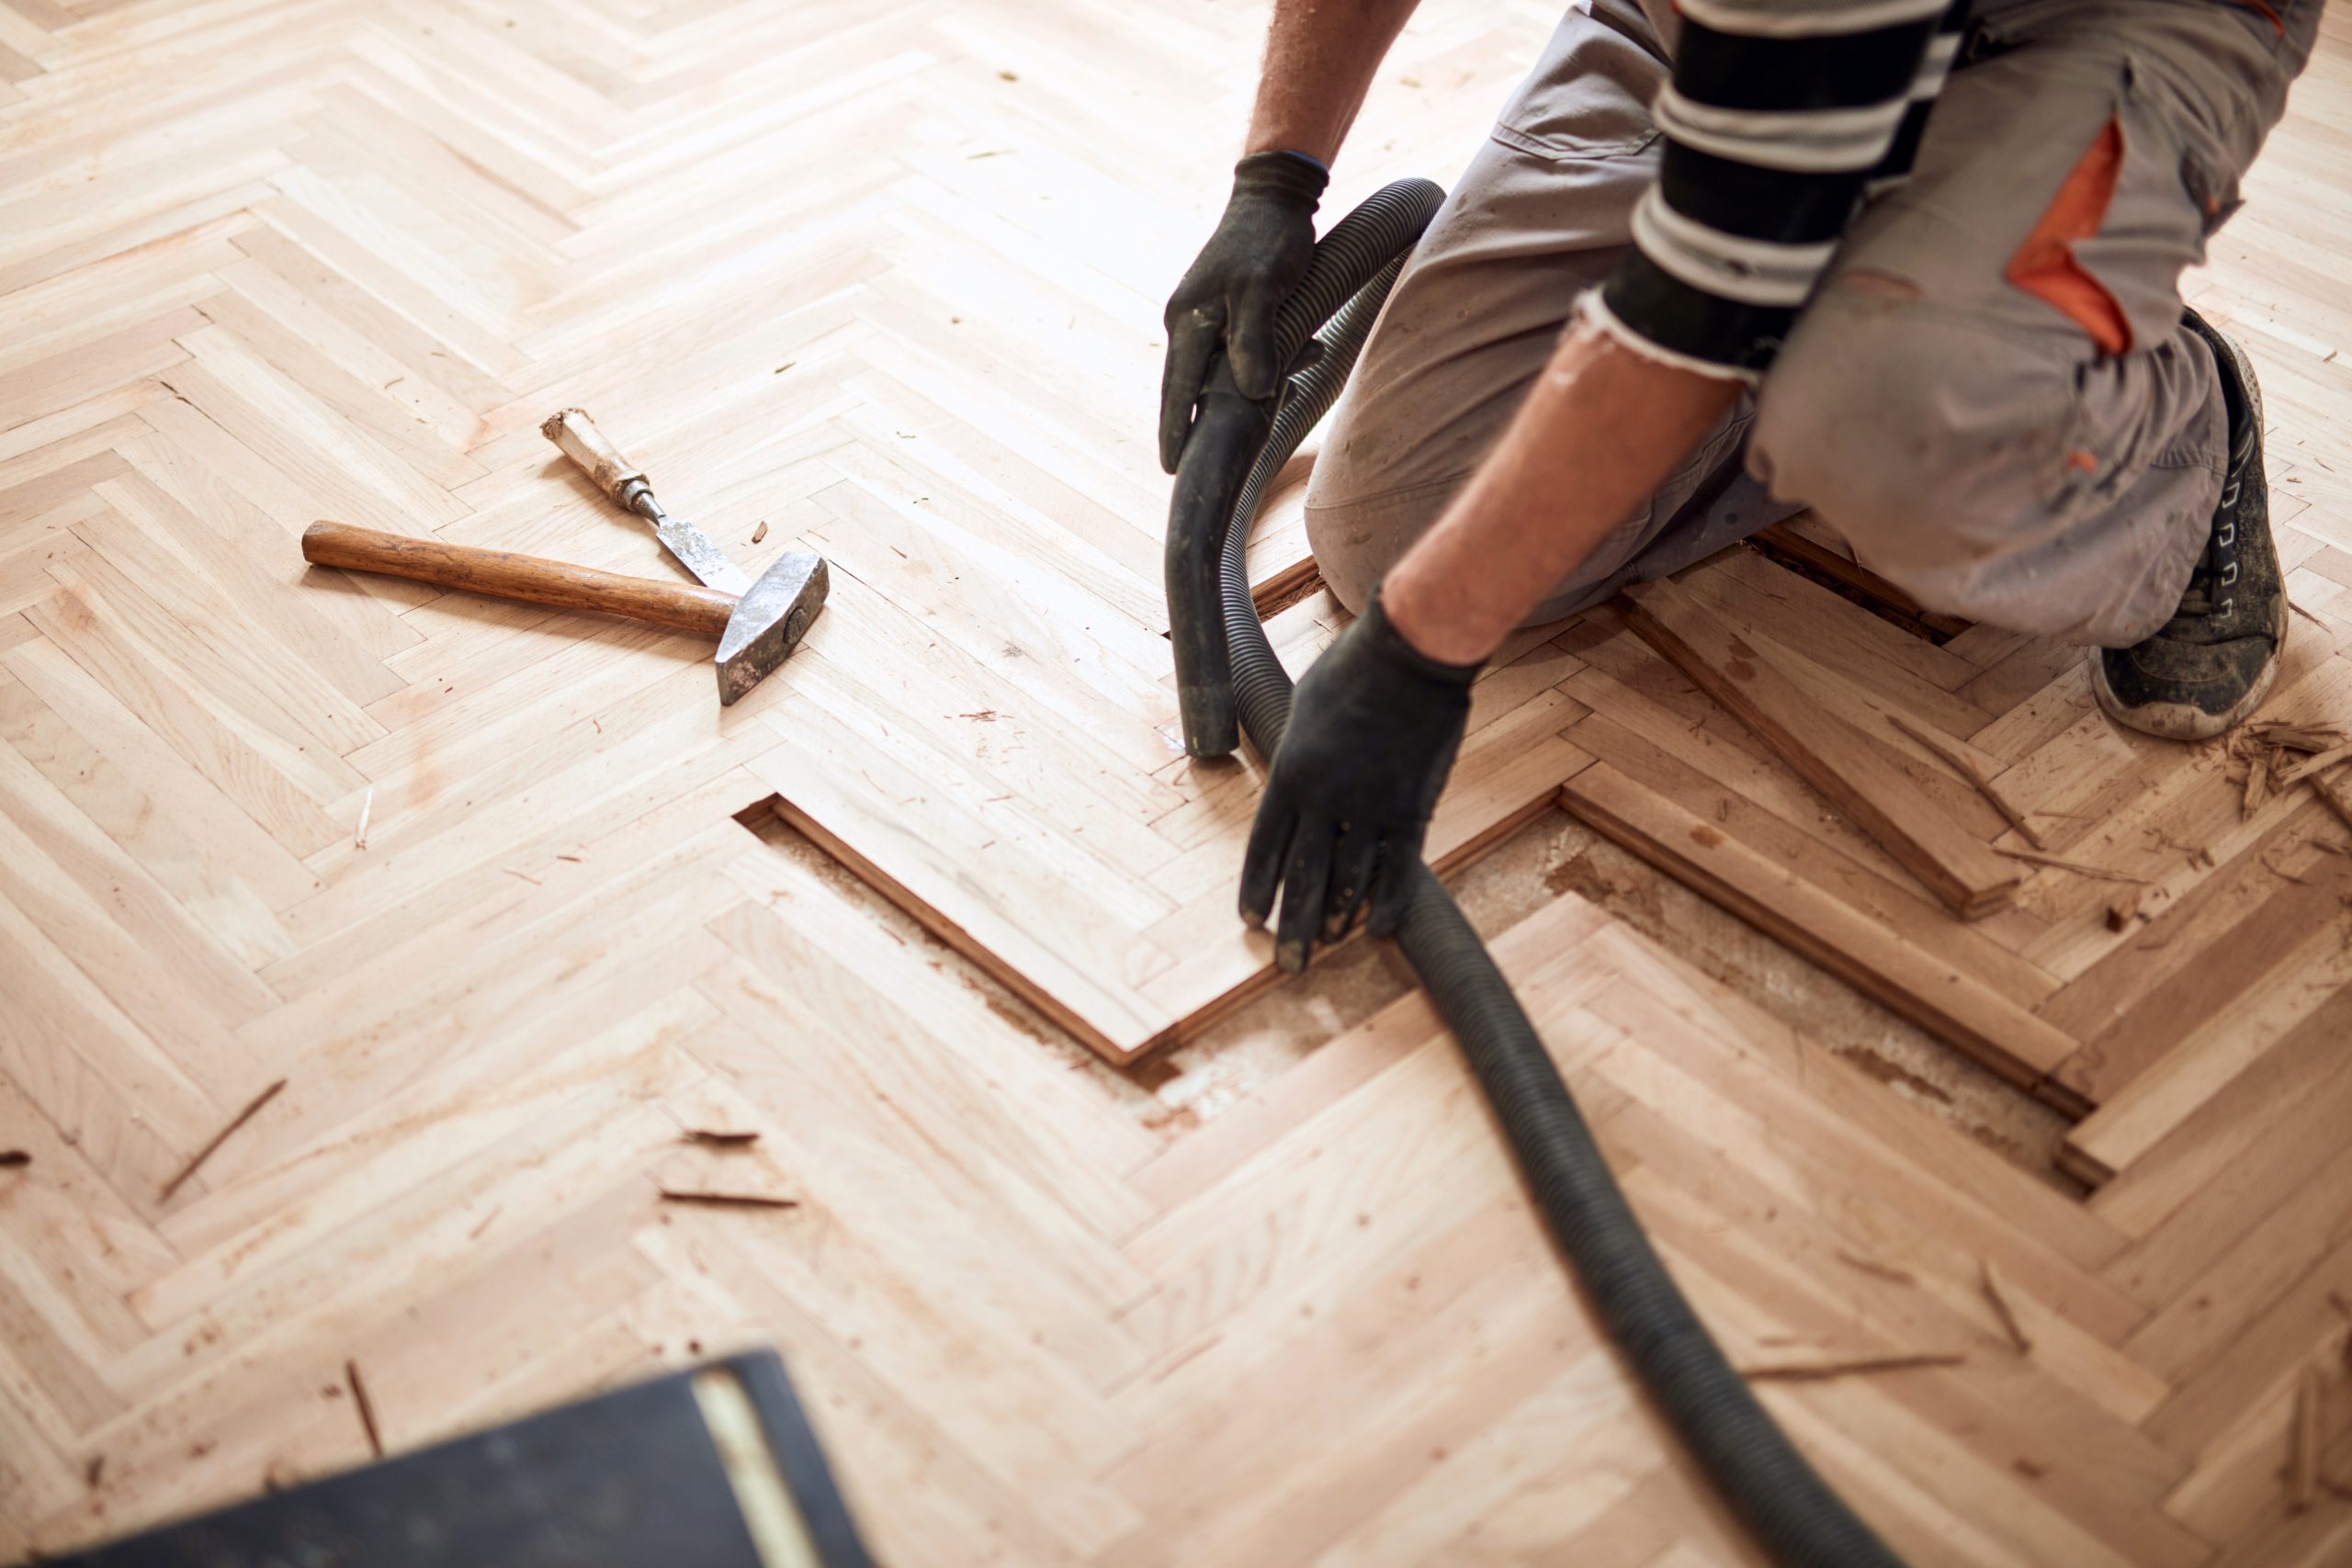
Stanmore has plenty of homes with parquet—herringbone, basket weave, and classic finger blocks. Parquet is stunning, but it’s also less forgiving than plank boards.
What makes parquet different:
- grain direction changes constantly
- edges can chip if sanding is rushed
- gaps and movement often need specialist filling
- pattern alignment and finishing must be uniform
If you have parquet, look for specialists in parquet floor sanding and parquet restoration rather than a generic “sanding service”.
Done right, parquet restoration can make a room feel instantly more valuable.
Secret #6: Timing matters—plan around drying, not sanding
People often ask, “How long does sanding take?” The better question is: “When can we walk on it normally again?”
Typical flow (varies by finish and site conditions):
- Day 1: prep + sanding
- Day 1/2: first coat
- Day 2: second coat (+ possibly third)
- Cure time: the finish hardens over the next several days
Some finishes dry quickly but still need curing time before heavy furniture, rugs, or intense foot traffic.
A professional floor sanding service will tell you:
- when you can walk in socks
- when you can move furniture back
- when it’s safe to put rugs down
- how to avoid marks in the first week
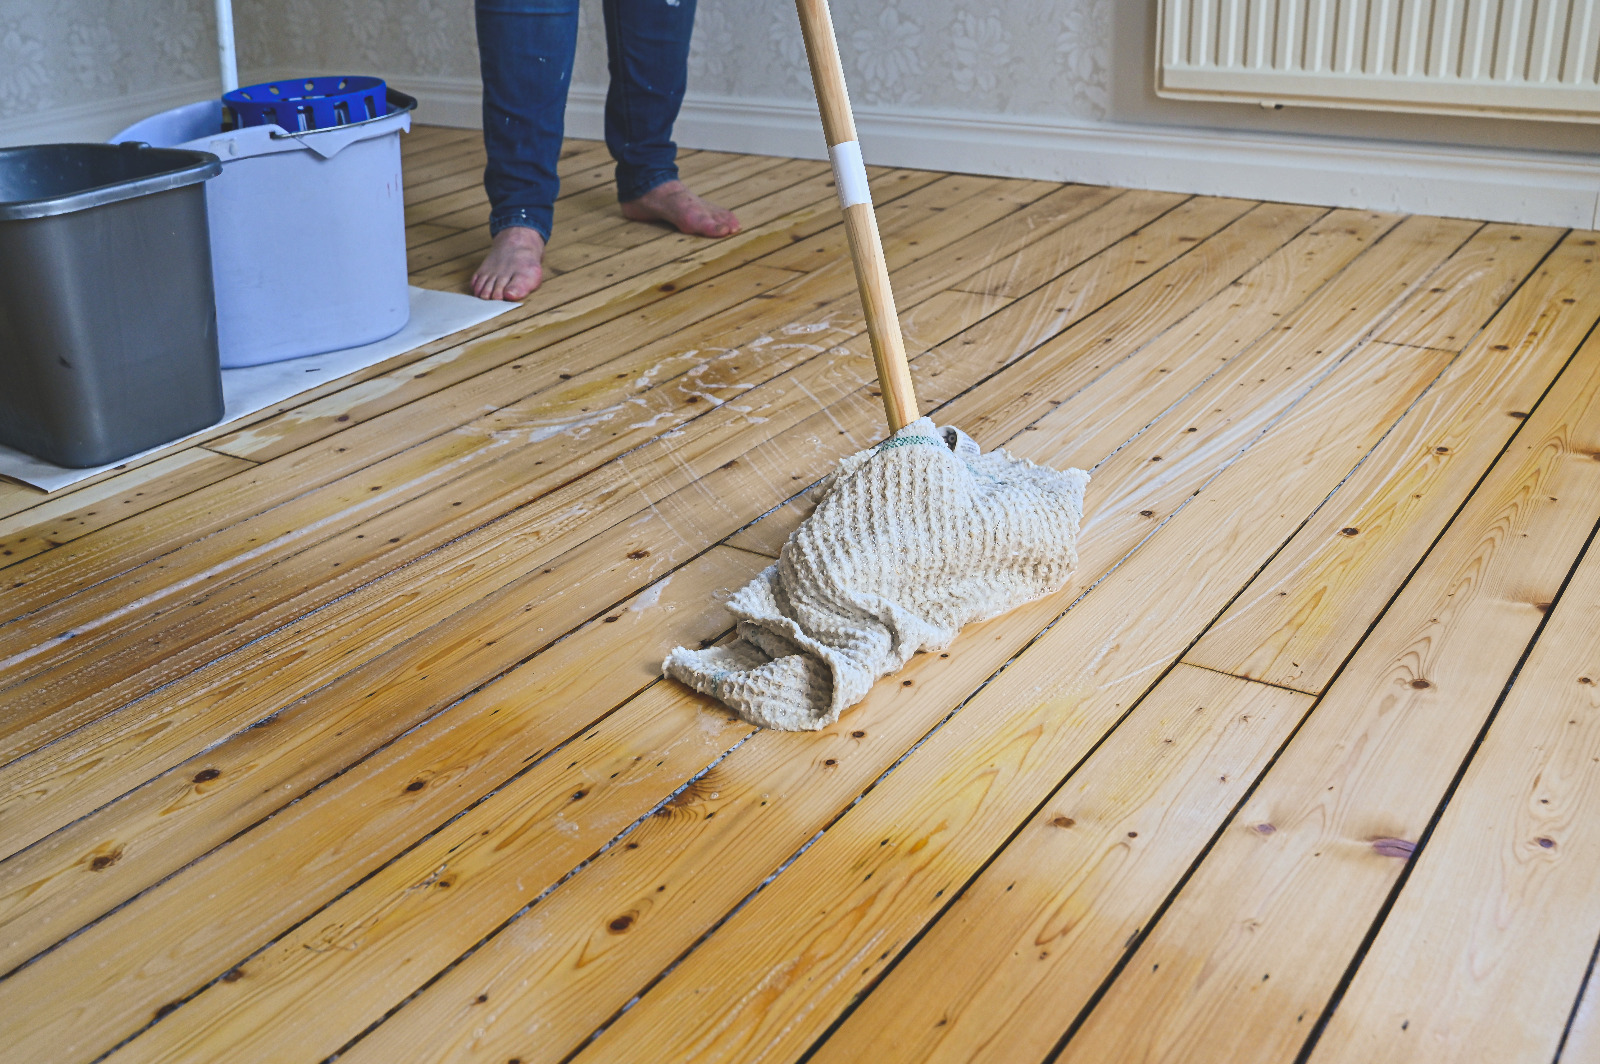
Secret #7: Maintenance is simple—if you do the right simple things
After sanding and finishing, your floor is protected. Keep it that way with habits that cost almost nothing:
Do this
- Use felt pads under chairs
- Put mats at entrances (especially in wet weather)
- Sweep or vacuum regularly (soft brush head)
- Clean with a product suitable for your finish
- Wipe spills quickly
Avoid this
- Steam mops (often too harsh for timber finishes)
- Heavy water use (“mopping” like a tiled floor)
- Silicone-based polishes that leave residue
- Dragging furniture without protection
Follow these, and a professionally finished floor can look brilliant for years before it needs a refresh coat—especially after quality wood floor sanding.
What does Wood Floor Sanding actually involve?
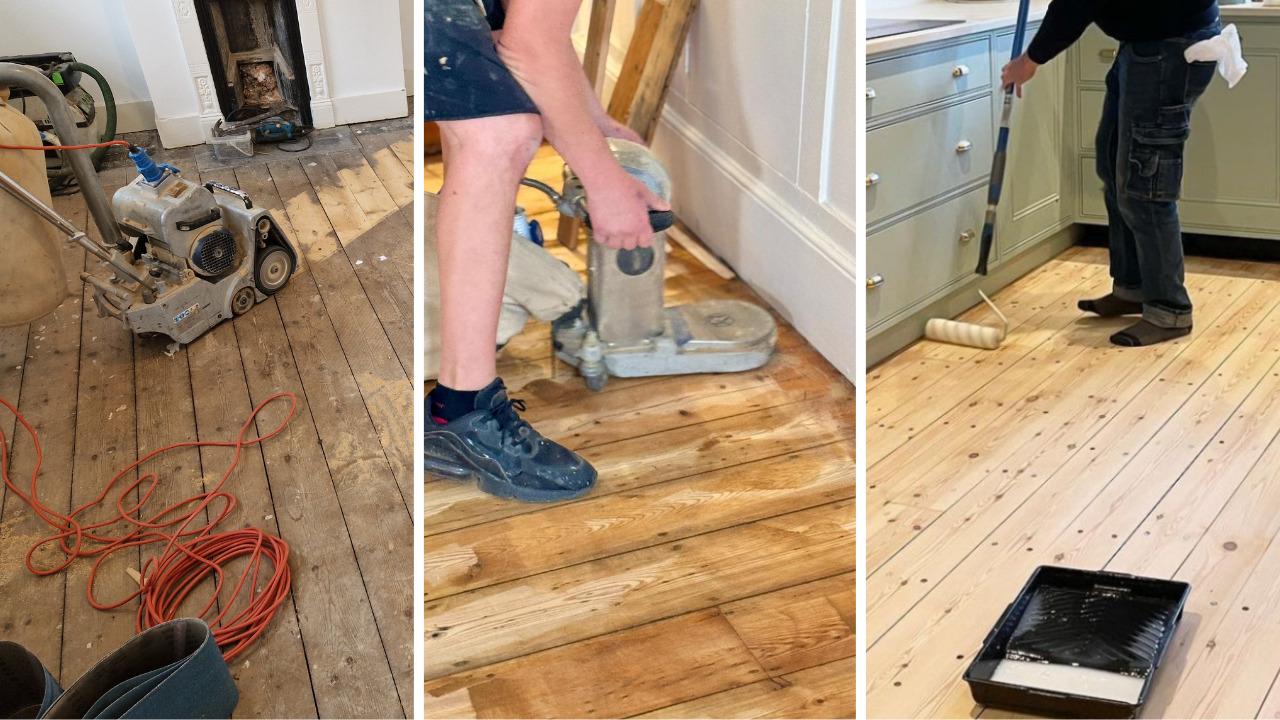
A proper professional process usually includes:
- Site survey & assessment
Floor type, thickness, existing finish, problem areas, moisture risk, expected outcome. - Preparation
Clearing the area, protecting edges where needed, checking for protruding nails, securing loose boards. - Main sanding (large area machine)
Flattens and levels the boards; removes old finishes and stains where possible. - Edge sanding
Gets close to skirting boards and into tight zones. - Detail sanding
Corners, thresholds, steps, awkward spots. - Filling (where appropriate)
Fills fine gaps and micro-cracks for a smoother look. (Some gaps are best left—depends on board type and movement.) - Final finishing
Seal/primer + topcoats or oil system—applied evenly with correct drying times.
If you want that “new floor” look without the upheaval, this is why floor restoration is such a smart option.
Commercial floors in Stanmore: strong finish, minimal disruption
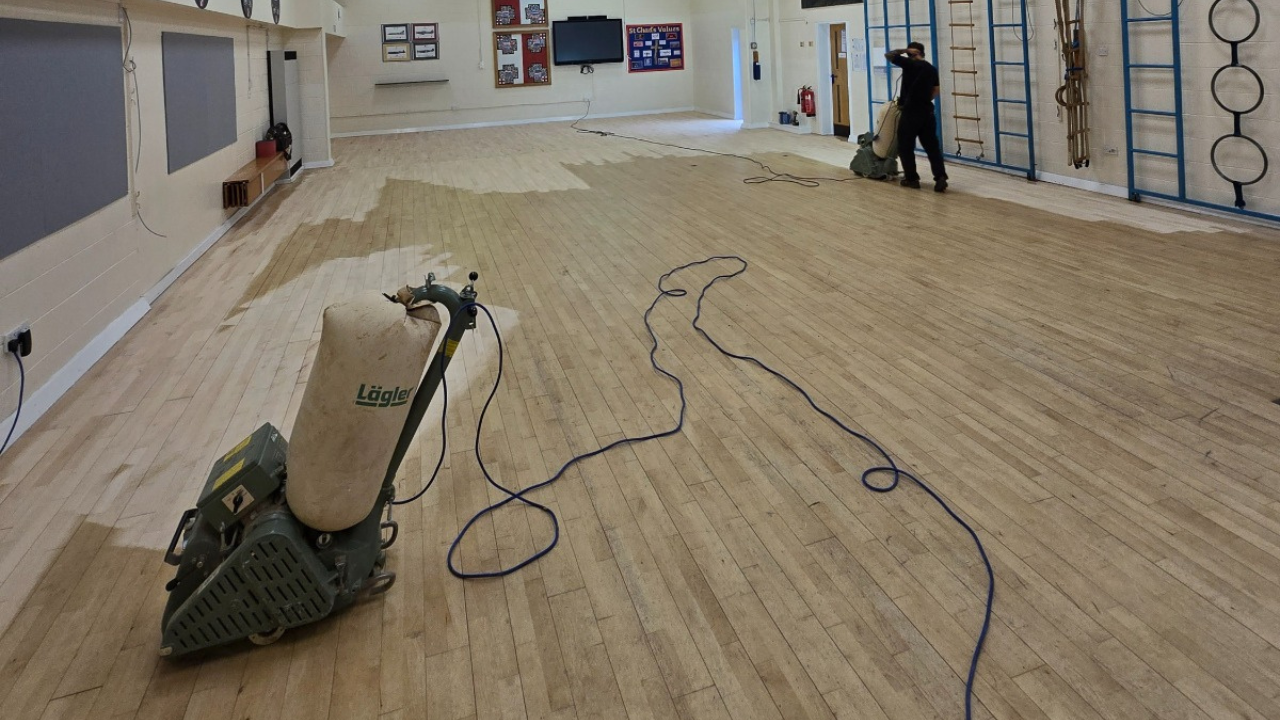
Shops, offices, schools, community spaces, and rental properties often have timber flooring that’s taken a beating. The goal is usually:
- durability
- quick return to use
- easy cleaning
- a professional appearance
A tailored commercial floor sanding approach focuses on tougher finishes, careful scheduling, and a result that stands up to footfall.
Stanmore-specific reality check: what kind of floors can be sanded?
Many floors in the Stanmore area can be sanded, including:
- solid hardwood boards
- many engineered wood floors (depending on wear layer thickness)
- parquet blocks
- older pine boards (common in some period properties)
If your floor is engineered, the key detail is the thickness of the top layer. A specialist will advise whether full sanding is safe or whether a lighter refresh is better.
Either way, getting expert advice from a local wood floor sanding team is the fastest way to avoid costly mistakes.
FAQs: quick answers homeowners actually need
Will sanding remove all stains?
Many stains can be reduced or removed, but deep black water stains may be in the timber itself. Sometimes targeted board replacement plus floor repairs gives the best finish.
Is it loud?
Yes—there’s machine noise. But a professional setup keeps it controlled and time-limited.
Will there be dust everywhere?
Modern systems capture most dust. Good preparation and extraction make a huge difference.
Can you sand around furniture?
It’s possible in limited cases, but best results come from a clear room. If you need help planning logistics, a professional floor sanding provider can advise.
How often do floors need sanding?
Not often. Many solid wood floors only need full sanding every 10–20 years, sometimes longer, depending on wear and maintenance.’

The simplest way to get a “wow” floor in Stanmore
If you take one thing from this guide, make it this:
Sanding is only half the job. The prep, repairs, and finishing system decide whether your floor looks amazing for years—or just looks good for a few weeks.
So if your boards are scratched, dull, or patchy, don’t assume the floor is finished. It might just be waiting for the right restoration.
Explore your options for wood floor sanding, floor restoration, parquet floor sanding, wood floor repairs, or commercial floor sanding—and bring your Stanmore floors back to life properly.
Ready to transform your tired timber?
Visit Stanmore Floor Sanding and book a professional assessment to find out what your floor can become.